Introduction
This tutorial will guide you to create a computer simulation using image classification algorithm. Here, a image with peppers will be used as the input to the image classifier block.
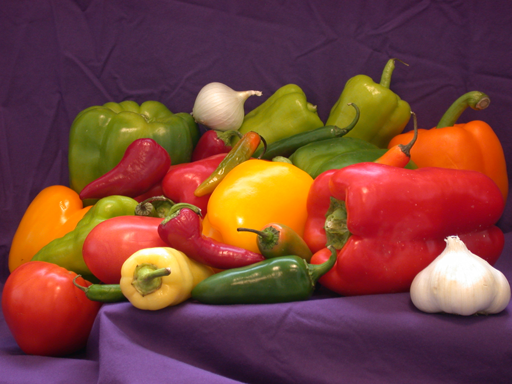
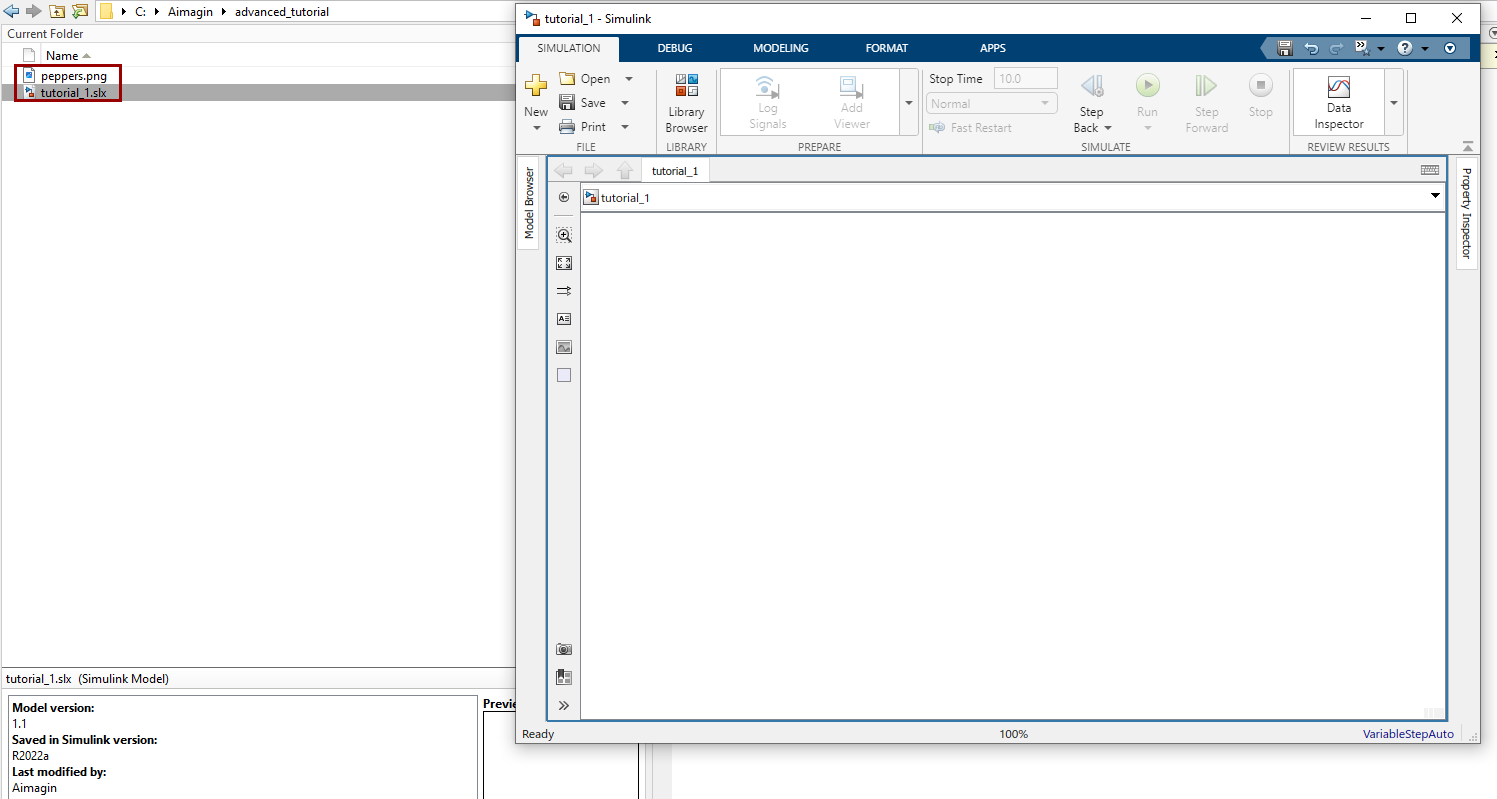
1.Download the sample image peppers.png and place it in the same folder that you are going to create the Simulink model
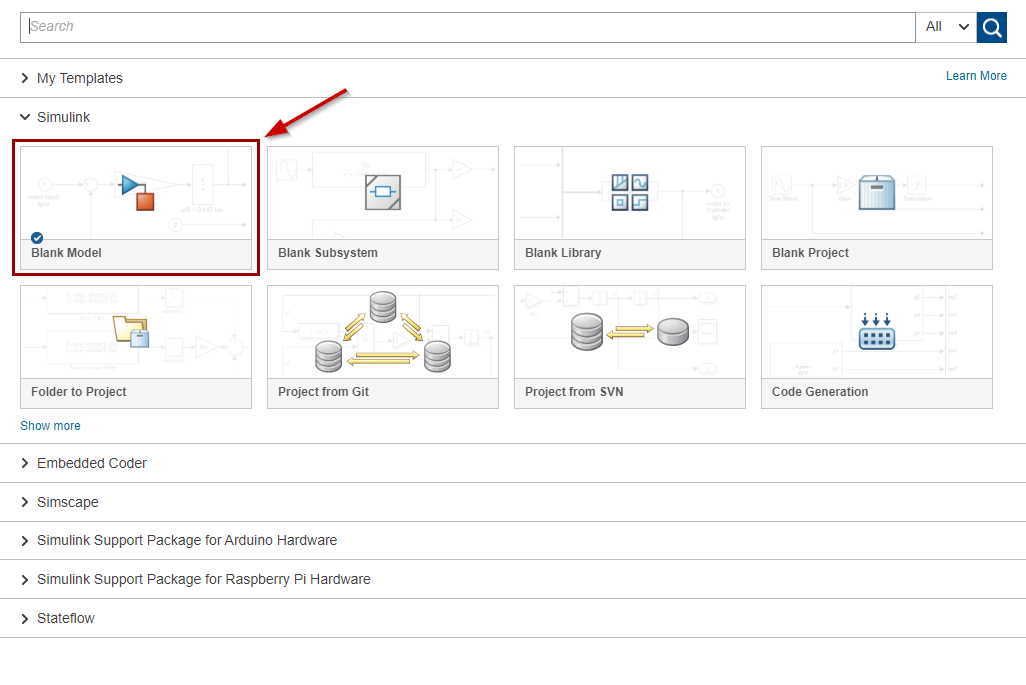
2.Open Matlab and make a new Simulink model. Save the Simulink model as tutorial_1.
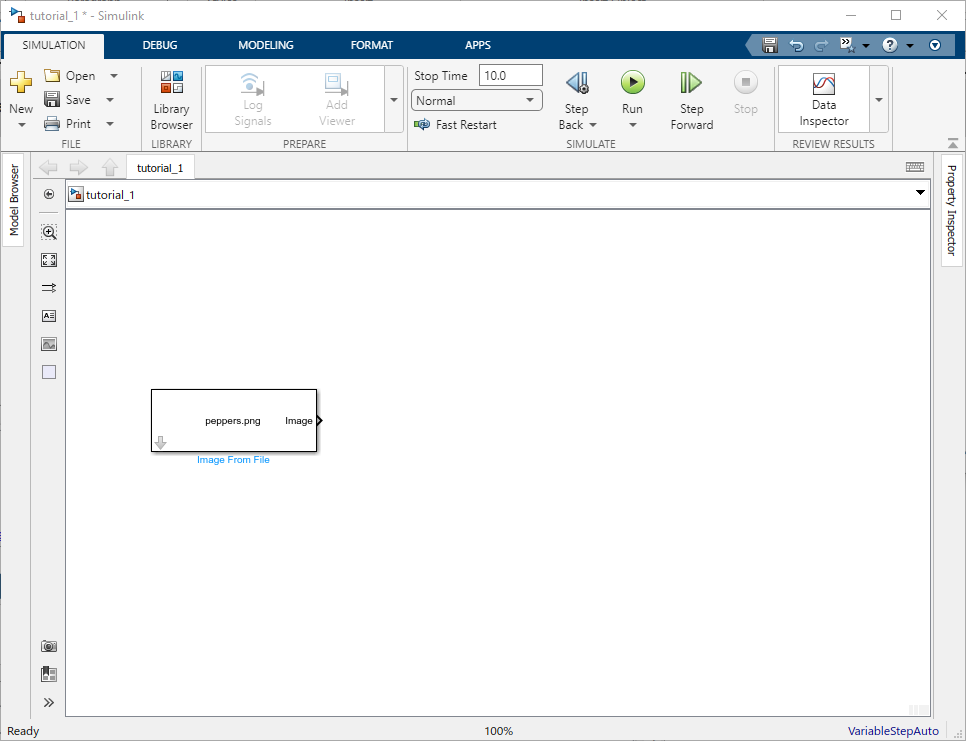
3.First, add the the Image From File block from Computer Vision toolbox. This block will be used to load an image from the computer
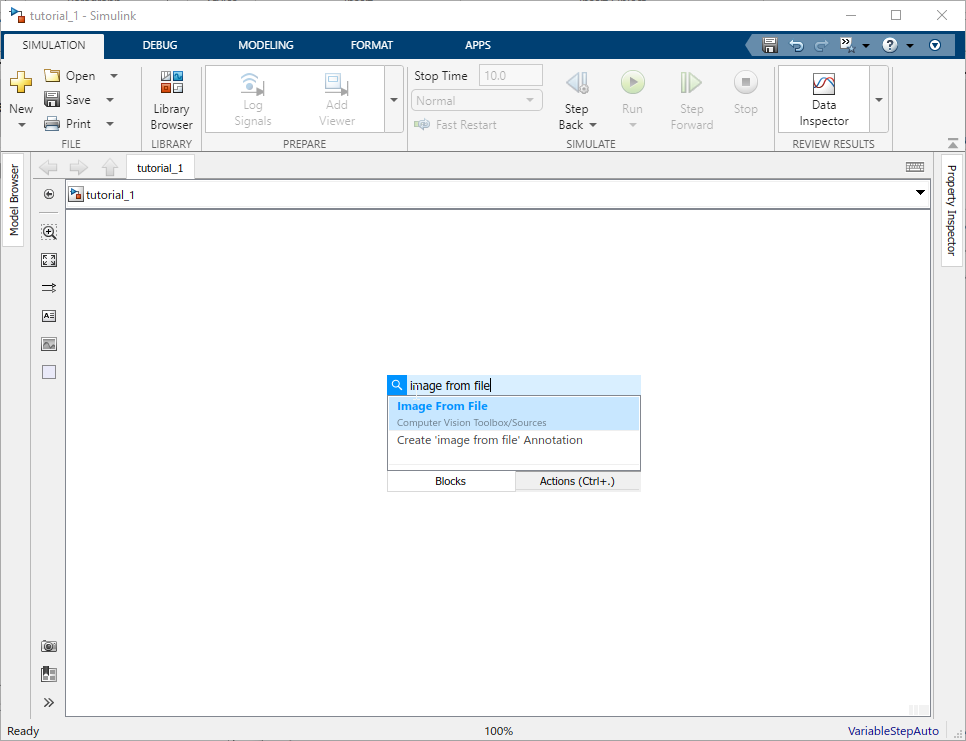
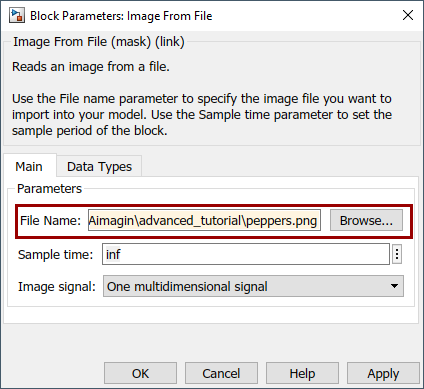
4.Double click on that block mask and browse the peppers.png file in your Matlab current folder. Then click OK to apply the changes.
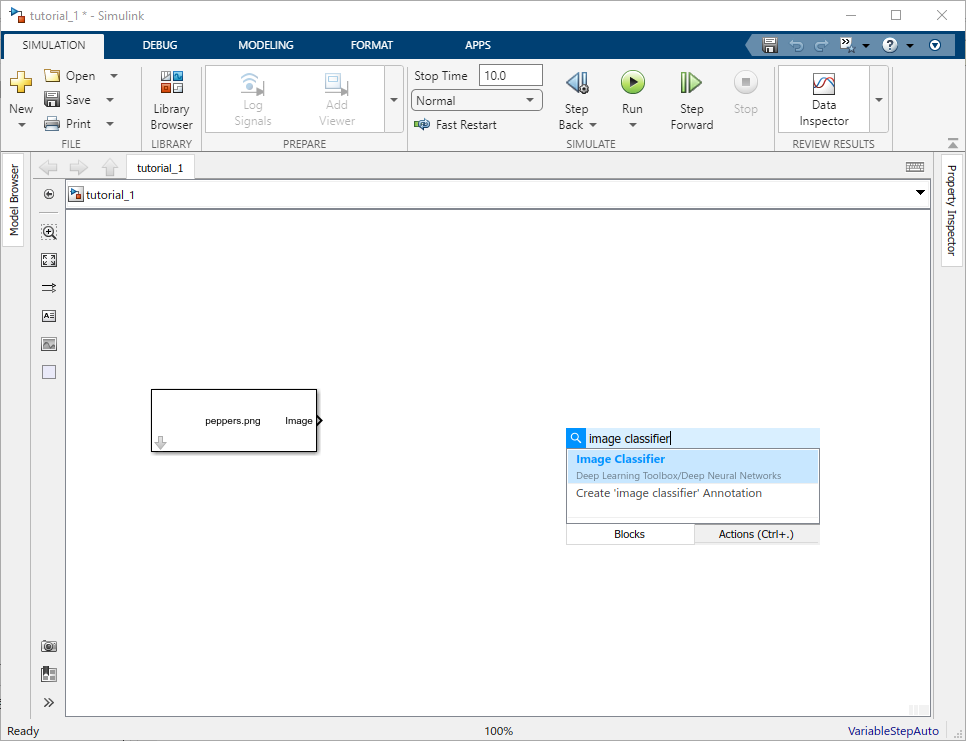
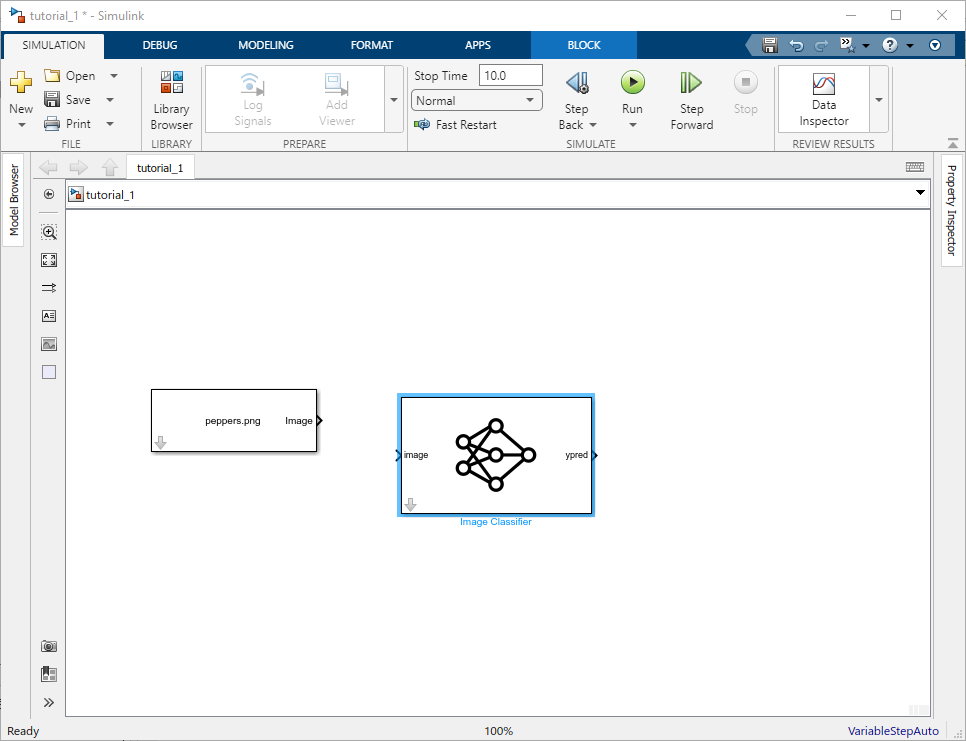
5.Then add the next bock, Image Classifier block to the Simulink model
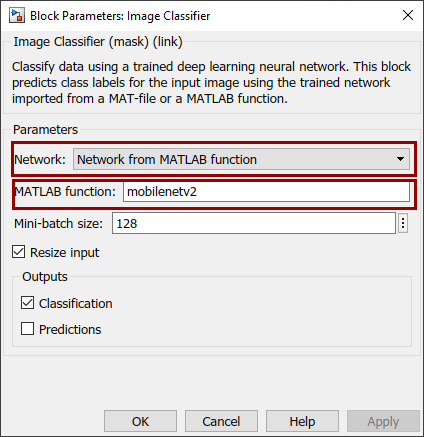
6.Double click on the Image Classifier block to open the block mask parameters. Change the following parameters and click OK to apply the changes
a.Network: Network from MATLAB function
b.MATLAB function: mobilenetv2
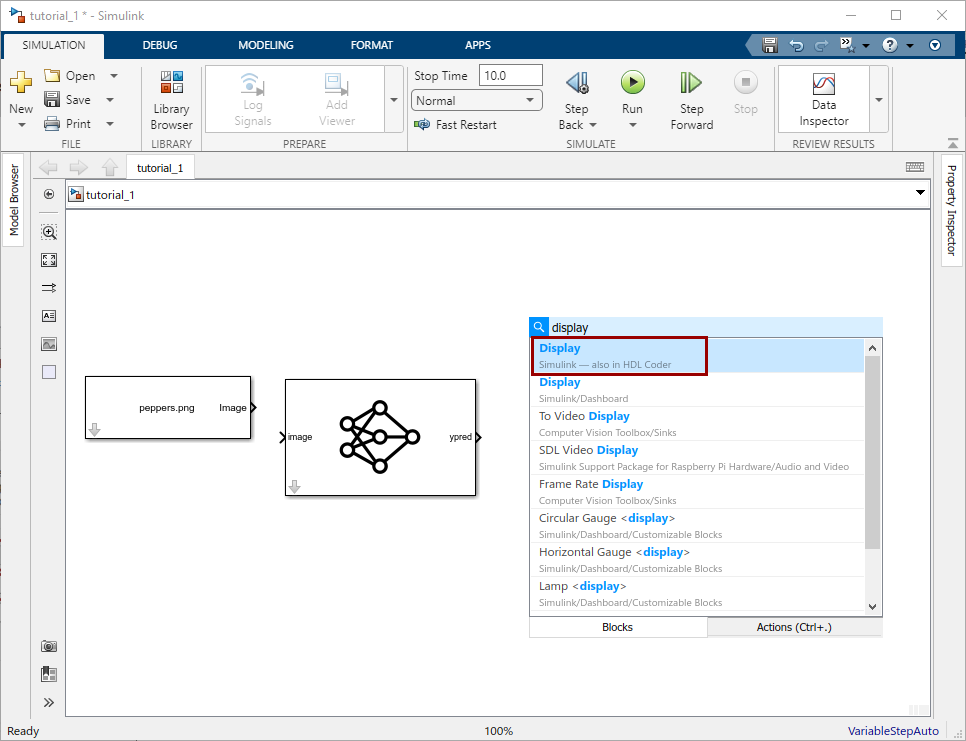
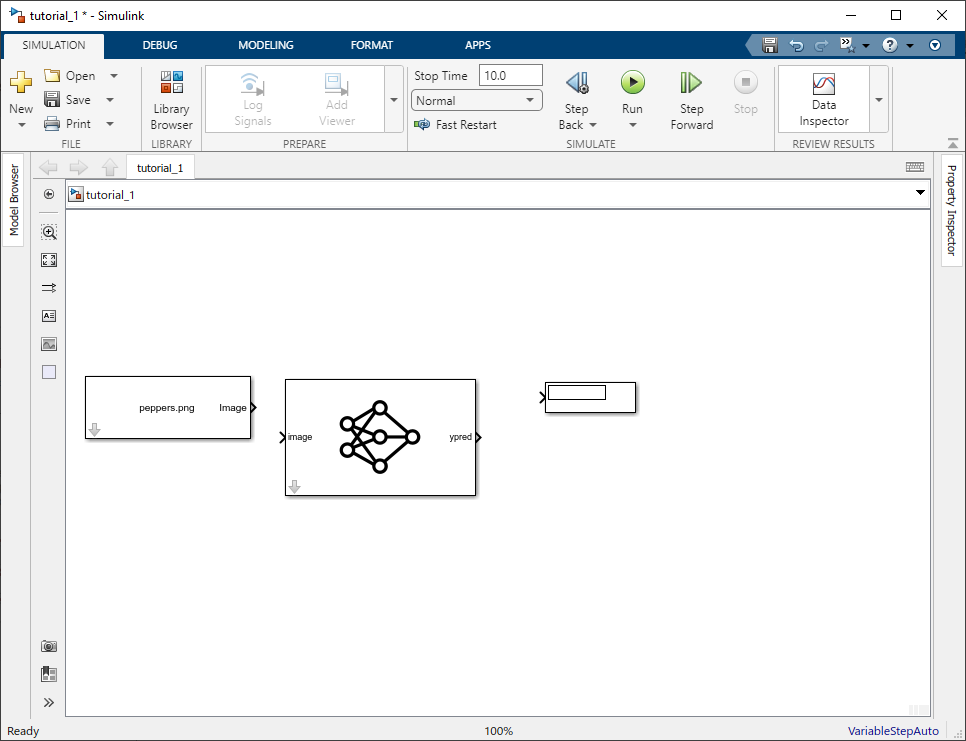
7.Then, add the display block to show the results
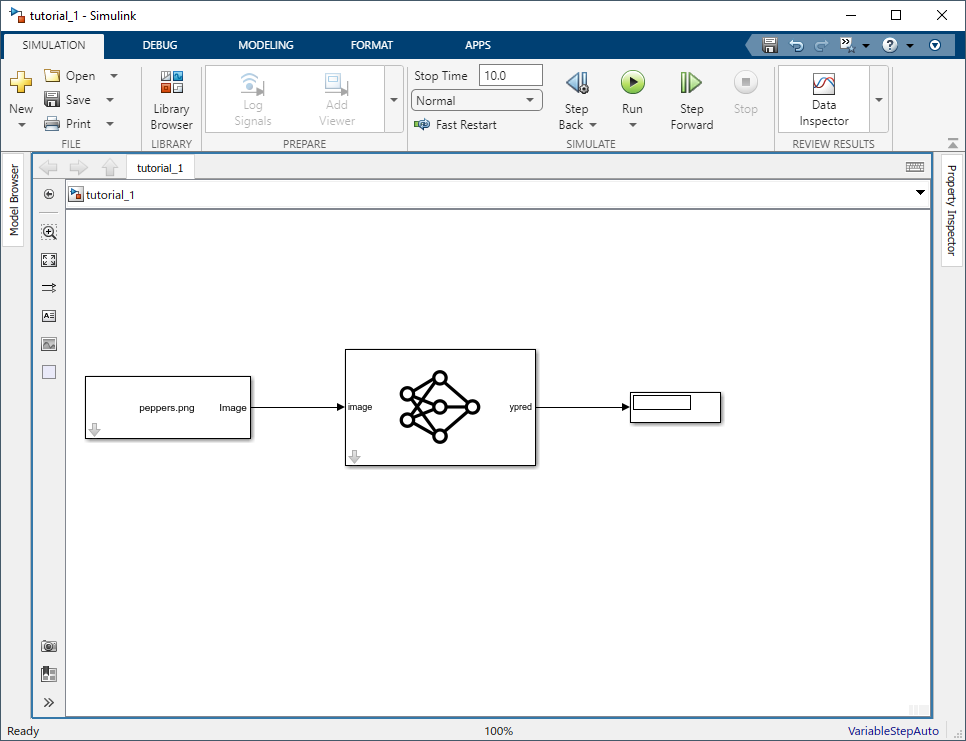
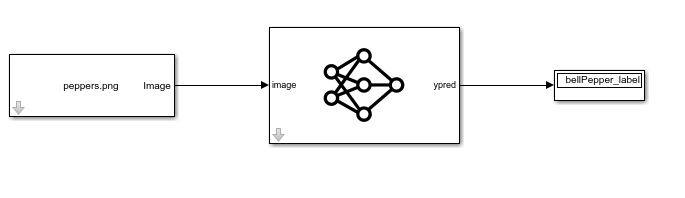
8.Connect all three blocks together as follow and save the Simulink model
9.Run the simulation by going to SIMULATION tab and click on the Run button
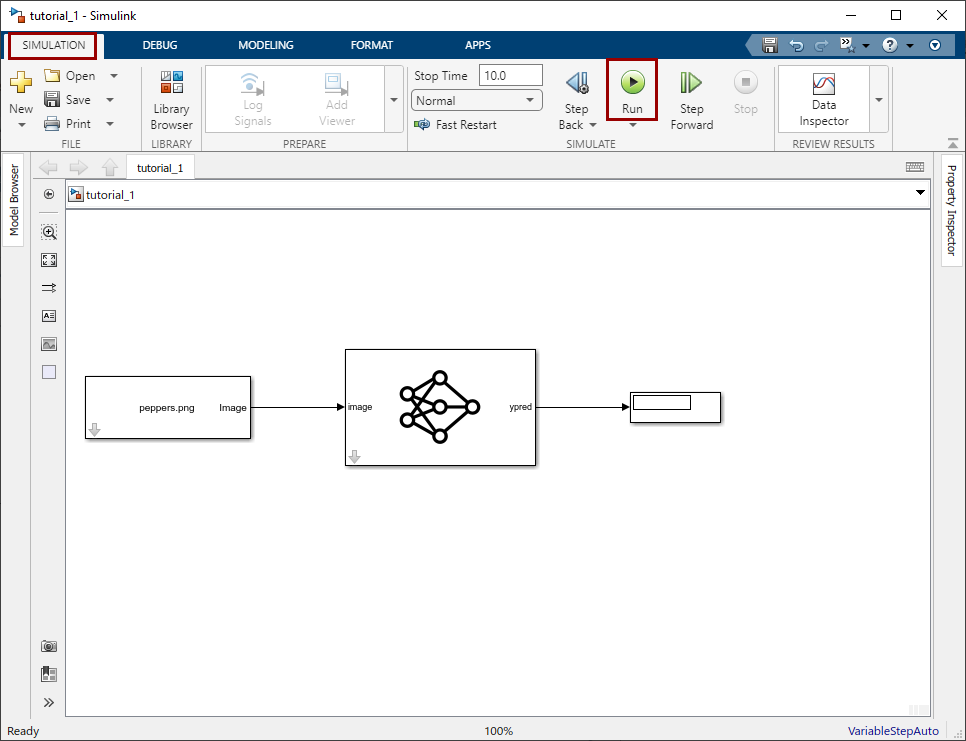
10.As the result, the Image Classifier block outputs the predicted class label. In this scenario, it is bellPepper_label
Resources
Simulink model file: tutorial_1.slx