How this block appears in a Simulink model?
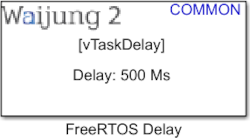
What can be configured?
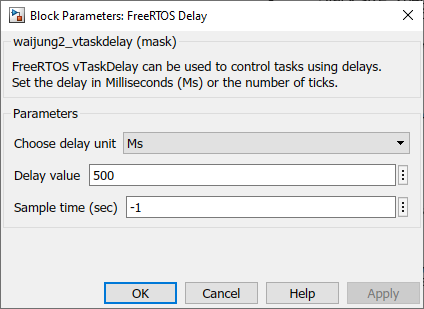
Configuration Parameter |
Selectable Option/Value |
Description |
Choose delay unit |
Ms/ Ticks |
By default, delay defined in Milliseconds (Ms). If this parameter is ‘Ticks ’, The defined ‘Delay value’ units will be considered in the number of ticks. |
Delay value |
|
Enter the delay value according to the selected delay unit |
Sample time (sec) |
-1 (inherited) or specify |
Specify the sample time |
When to use this block?
This block can be used as a delay in the program.
How does this block work?
This block invokes the function ‘vTaskDelay()’ in FreeRTOS. It will delay a task for a given number of ticks.
If ‘Ms’ is selected in ‘Choose delay unit ’ block will automatically convert the Millisecond time period into ticks using the following equation : vTaskDelay = Delay value/portTICK_PERIOD_MS
(The constant portTICK_PERIOD_MS is used to calculate actual time from the tick rate - with the resolution of one tick period)
Demo
Demo file : esp32_freertos_delay_demo.slx
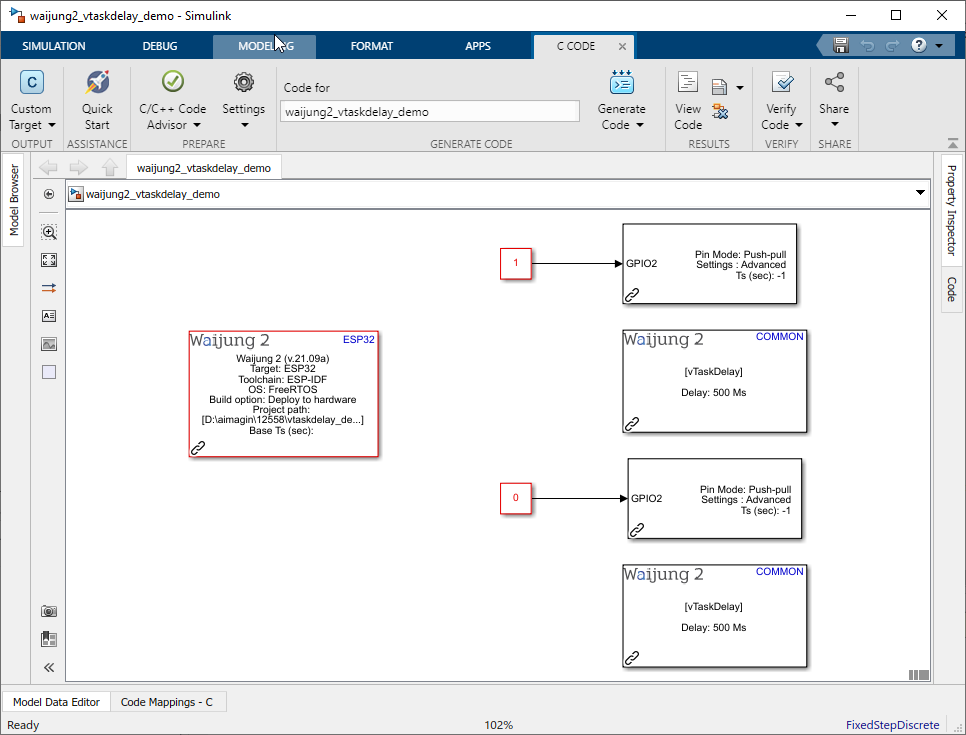
Description
This example shows how to use the FreeRTOS delay block on ESP32. In this example, LED will blink with the use of FreeRTOS delay. Also, the Digital output block is used to blink the LED on ESP32.
Set priority to each block by right-clicking the block > Properties... > Priority: (Priority value starts from 0).
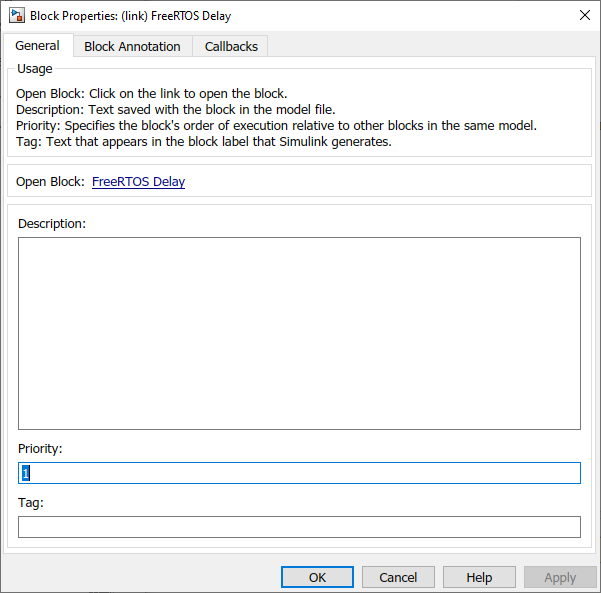
In order to check blocks are sorted in intended priority order, use execution order by right-clicking background > Other Displays > Blocks > Sorted Execution Order.
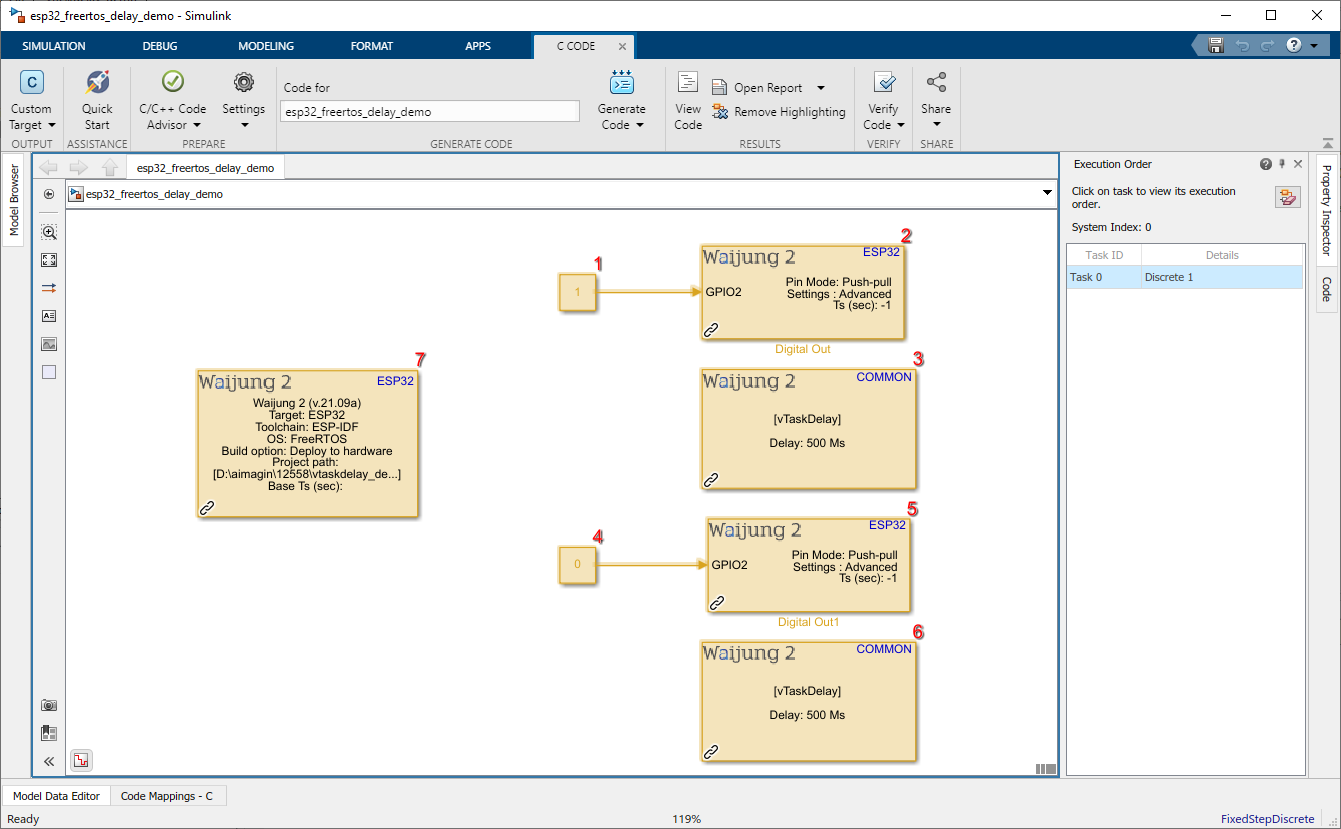
What should be happening?
Once the demo file is running on ESP32, the LEDs should turn on and off in the following sequence with a delay of 0.5s between State 1 & 3.
1.State 1: GPIO 2 pin ON
2.State 2: 0.5s delay (LED will turn ON from previous state(1) and hold it for 0.5s before moving to next state(3))
3.State 3: GPIO 2 pin OFF
4.State 4: 0.5s delay (LED will turn OFF from previous state(3) and hold it for 0.5s before moving to next state(1))